End-to-End Real Estate Marketing Solutions
FOR AGENTS AND BROKERS
We’ll take care of growing your online presence so you can focus on what you do best: providing exemplary service to clients.


Search Engine Optimization (SEO) + AEO / GEO
Did you know that AI Overviews now appear in over 25% of all Google searches and visitors from AI search convert at more than 4x the rate of traditional organic traffic?
Our experts optimize your website for maximum visibility across traditional search engines and AI-powered platforms so you can capture more of the clients who are ready to act.
KEY BENEFITS:
-
Increase relevant traffic to your site
-
Generate high-quality and high-intent leads
-
Decrease your cost per acquisition


Pay-Per-Click (PPC) Advertising
Why spend money on ads that people don’t engage with? With PPC, you only pay when someone clicks, meaning all your marketing budget goes to red-hot leads.
KEY BENEFITS:
-
Maximize your marketing spend
-
Create different campaigns targeting different audience segments
-
Get real-time campaign insights via analytics
WHICH SERVICE IS RIGHT FOR YOU? Tell Us Your Marketing Goal
We've got the expertise to make your business goals a reality.
I want to boost my Online Visibility
Get Started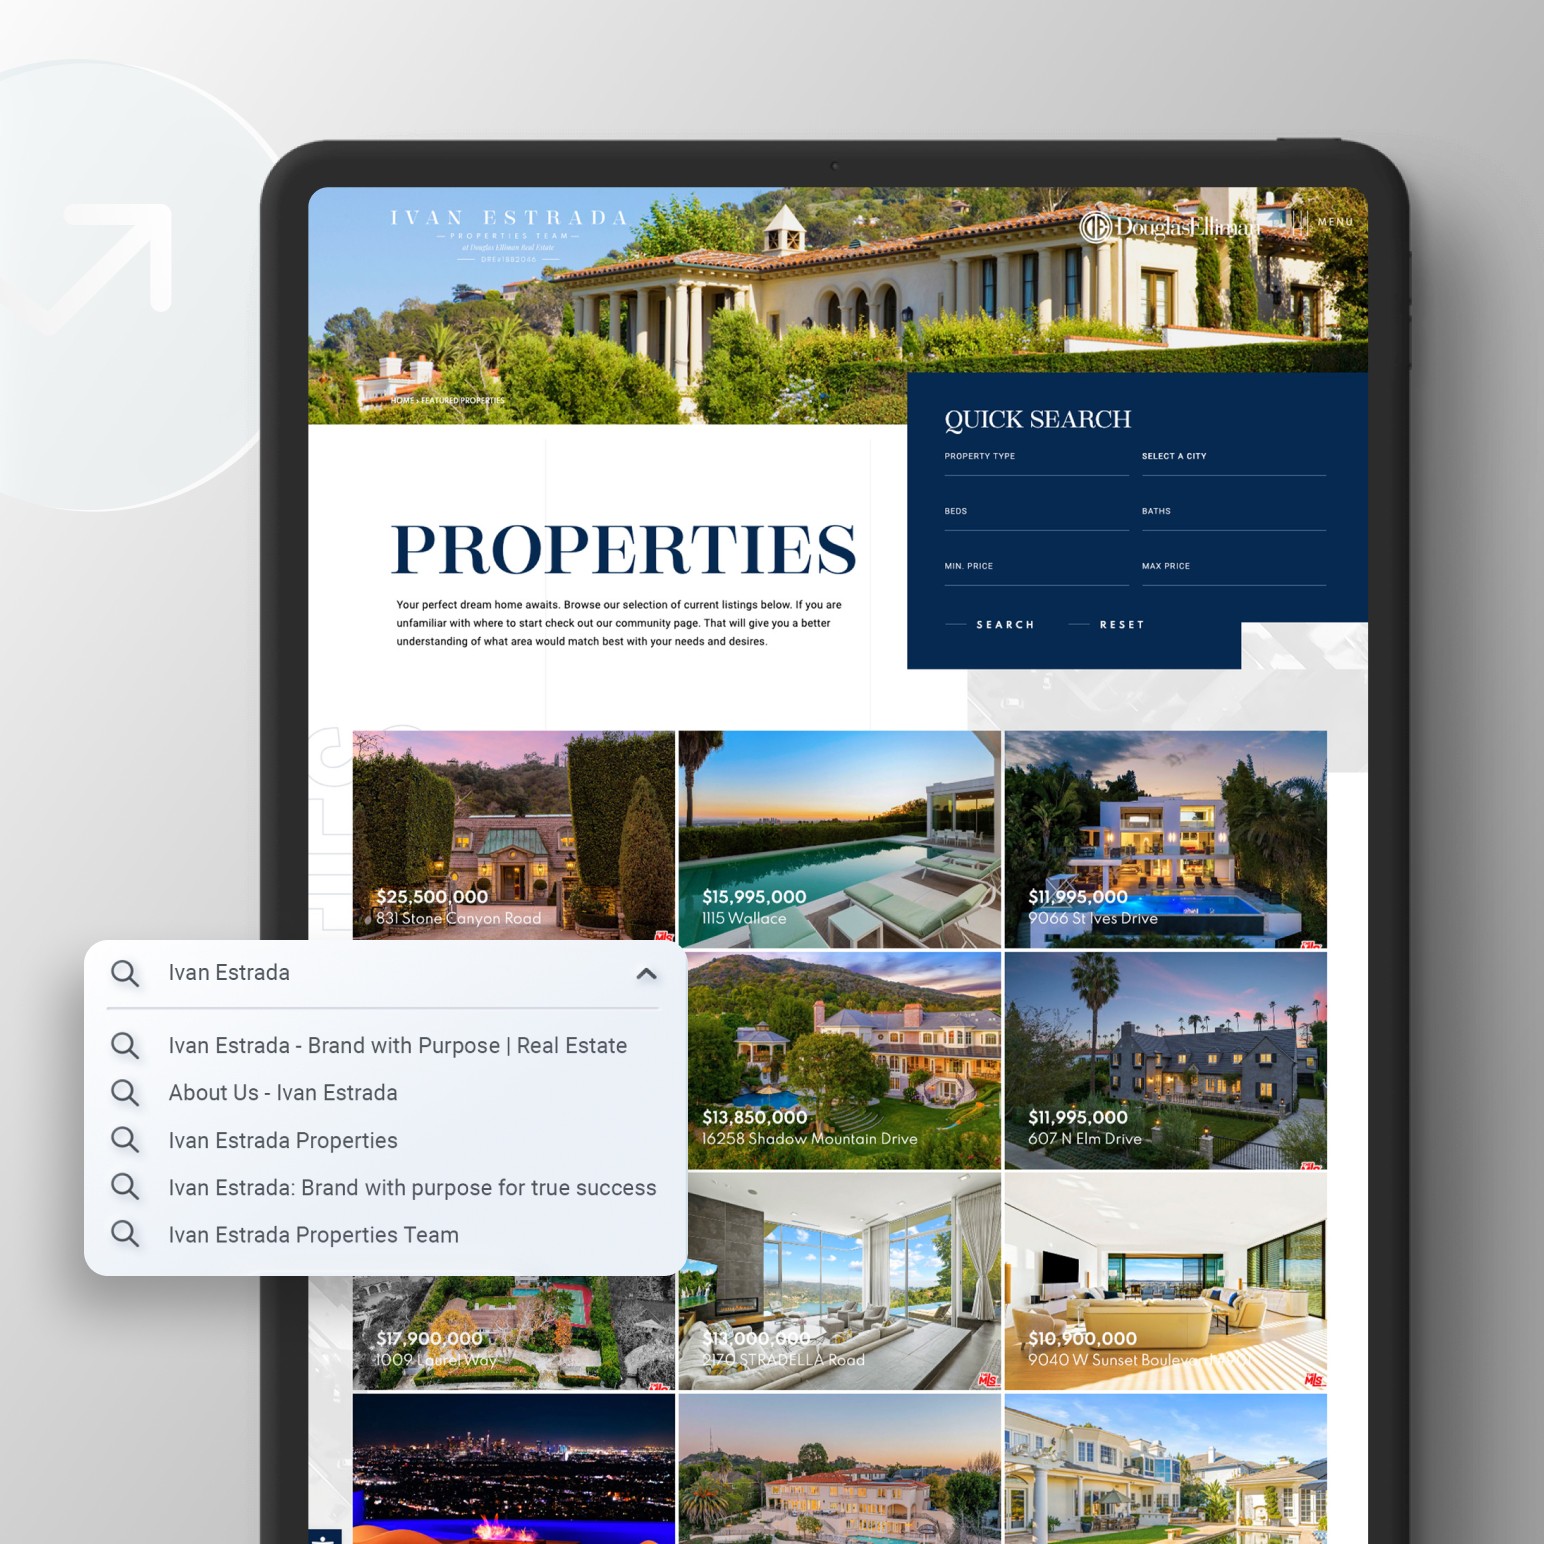
I want to Get More Leads
Get Started
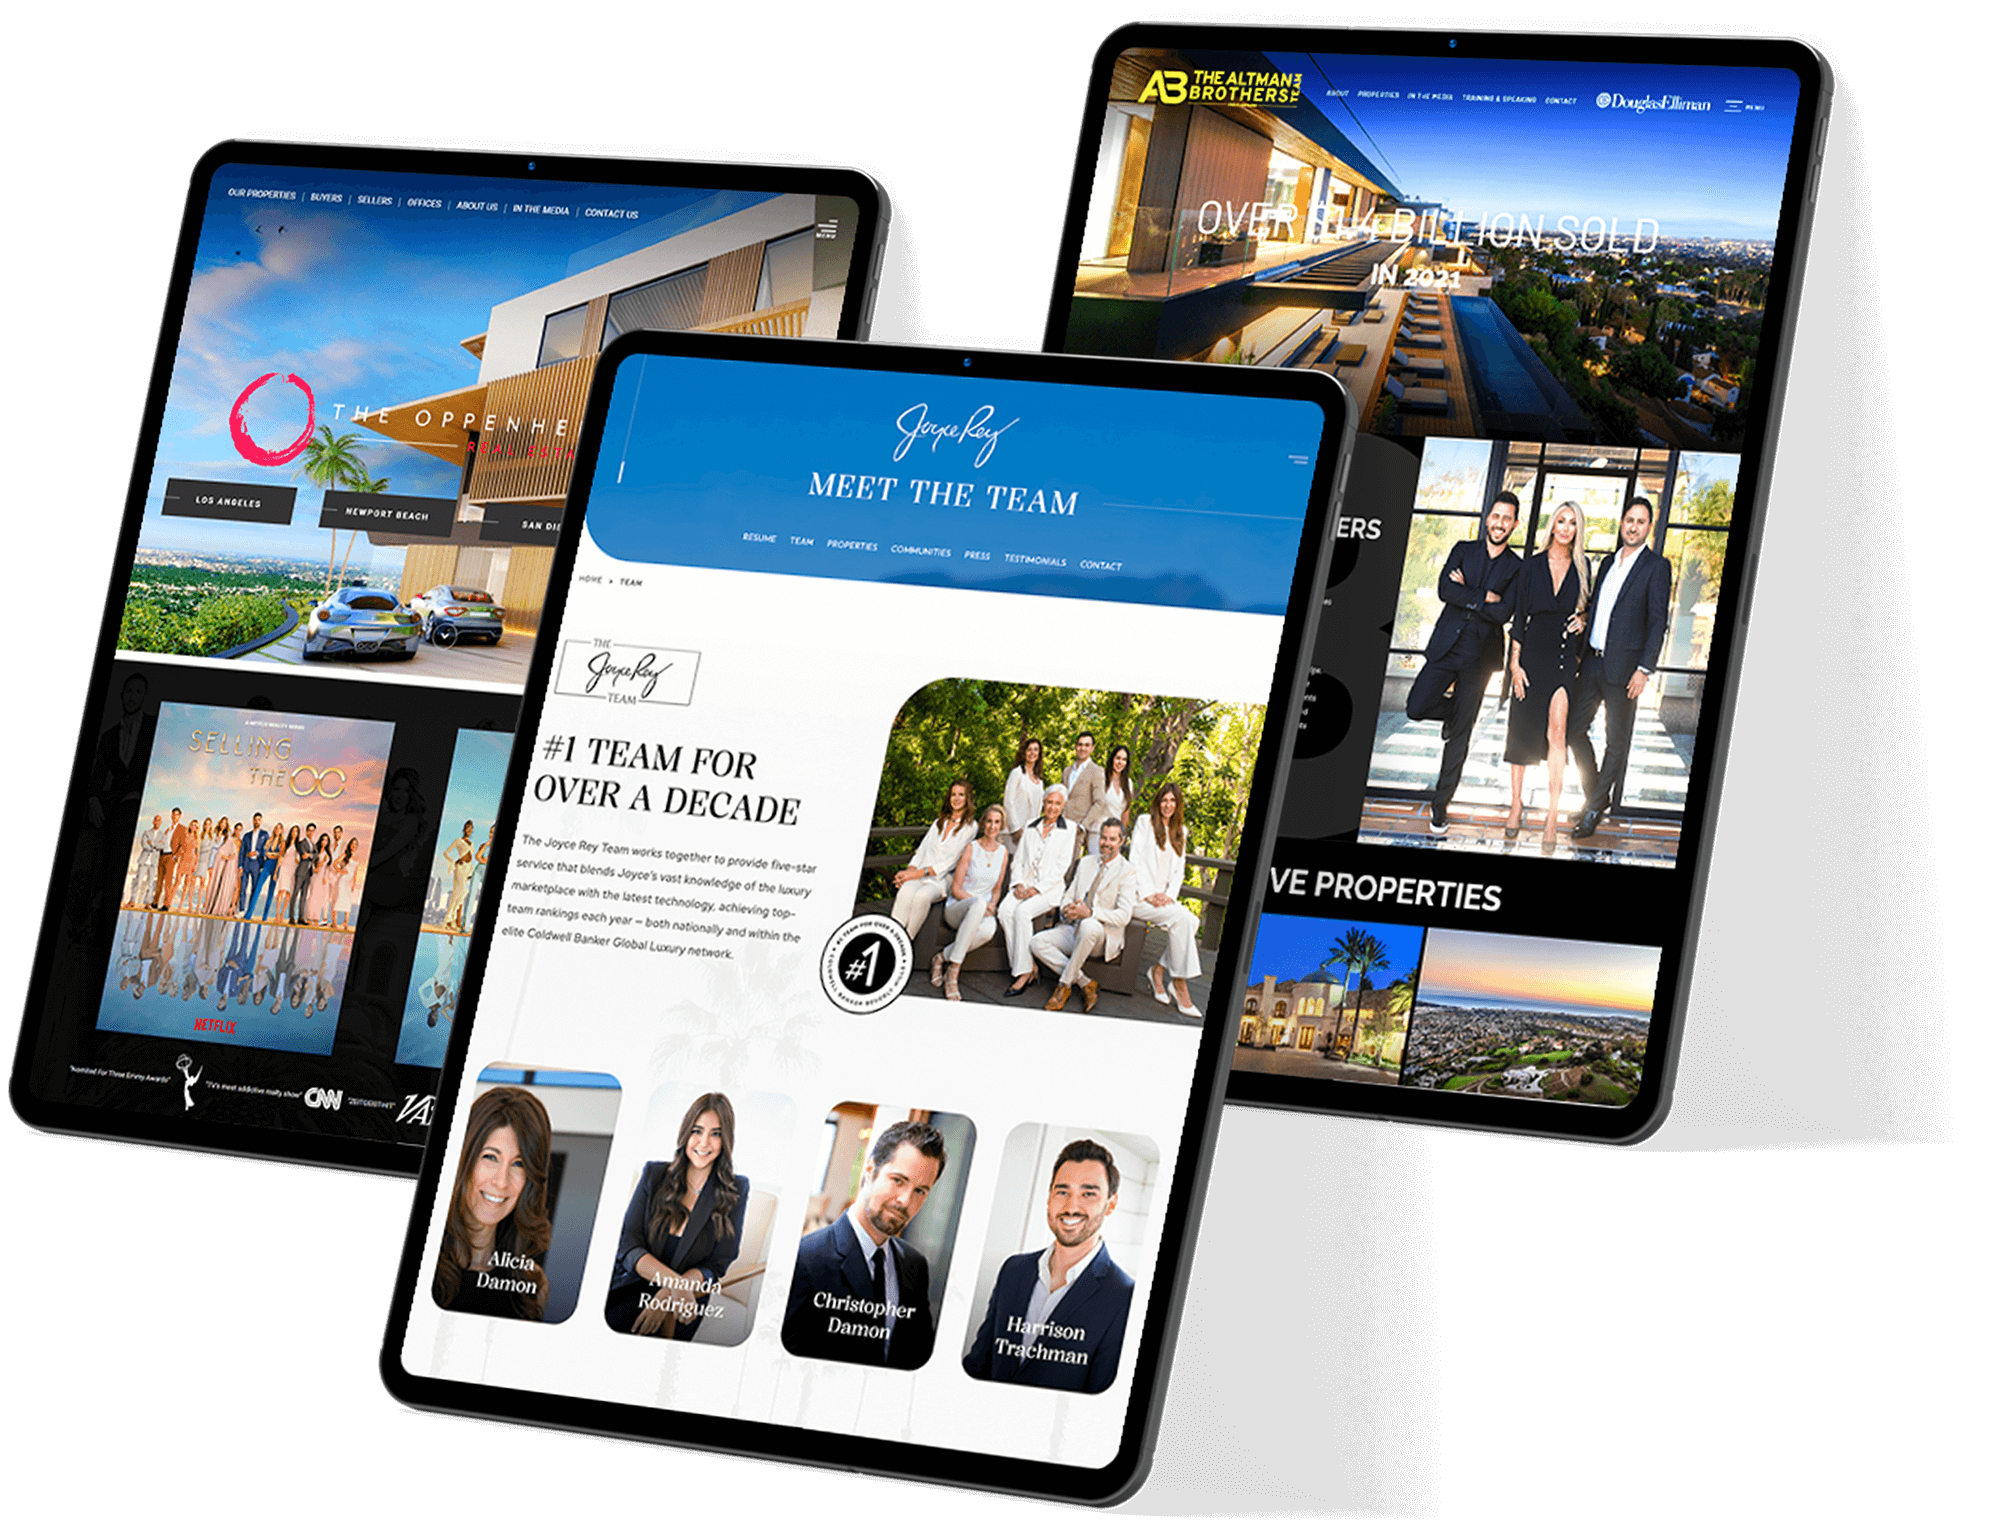
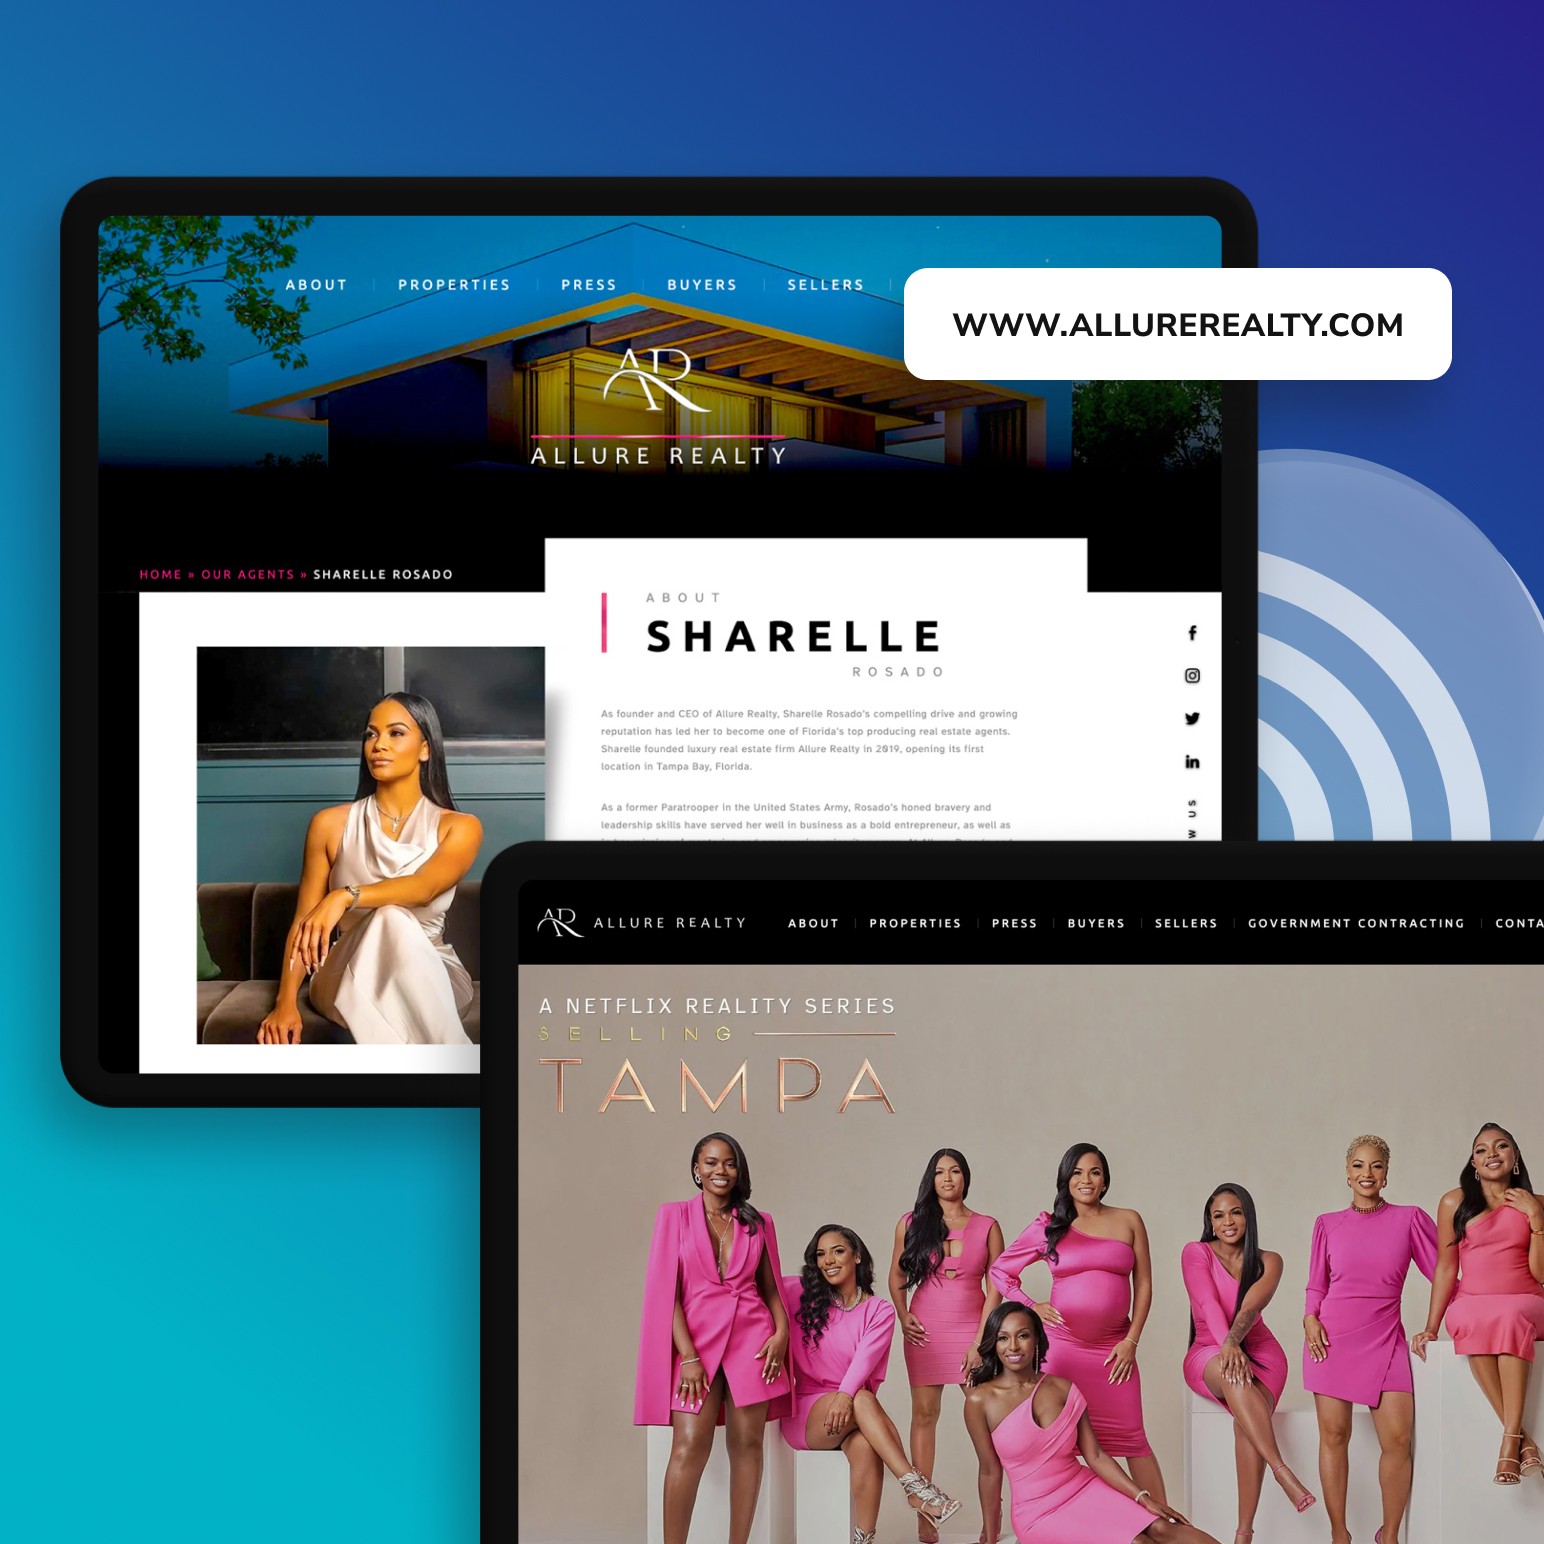
15 Best Real Estate Marketing Websites
Our portfolio of high-performing, award-winning work speaks for itself.
See the list
High-Profile
Praise
26 years of world-class service,
10,000+ five-star reviews.
Stay updated with our
Latest Blog Posts
Instagram Tips for Real Estate Agents: How to Grow Your Following and Get More Leads
Instagram Tips for Real Estate Agents: How to Grow Your Following and Get More Leads
If you’ve been posting on Instagram without much to show for it, you’re not alone. A lot of creators, real estate agents included, show up inconsistently, share listing photos with minimal context, and wonder why their follower count isn’t moving. The good news is that Instagram has become a lot more transparent about how it […] […]
Best Real Estate Websites of April 2026: IDX Features
Most real estate websites offer property search. Not all of them make it easy— or enjoyable— to use. The difference often comes down to how thoughtfully IDX is integrated into the website and how well the real estate website IDX experience is designed. This month, we’re taking a closer look at six standout websites that […] […]
AI-Enhanced IDX: How Custom Map Search Wins More Leads
When a buyer lands on your website, the first thing they do is search for homes. That search experience, whether it feels fast and intuitive or clunky and limiting, directly shapes whether they stick around, come back, or ever reach out at all. For agents running IDX websites, AI-enhanced map search is one of the […] […]