
Create a Picture Perfect Listing
Before uploading a slew of property photos on your website, ask yourself this one question: “Do your photos do the home justice?”
It’s a fact that buyers are nine times more likely to find a home through the internet than a newspaper these days. The internet has reinvented the way agents go about their business – from the times of just one black and white photo in a newspaper, to dozens of colored, high-res photographs on your own website today. Good property photos coupled with more detailed descriptions truly make your website a virtual open house that anyone can view at any time.
Here are some practical tips to help you take amazing listing photos:
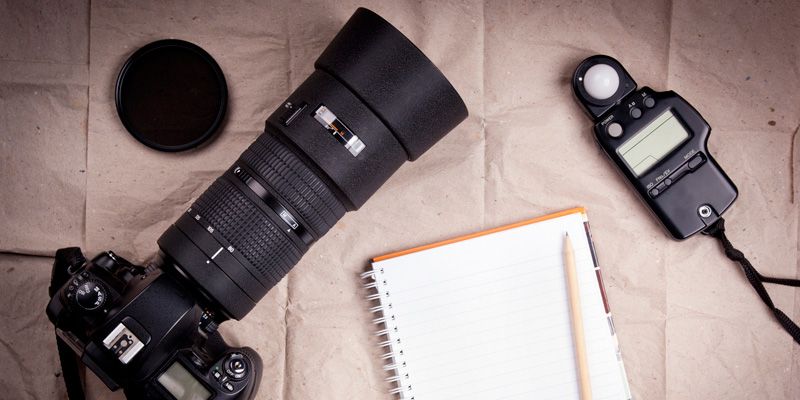
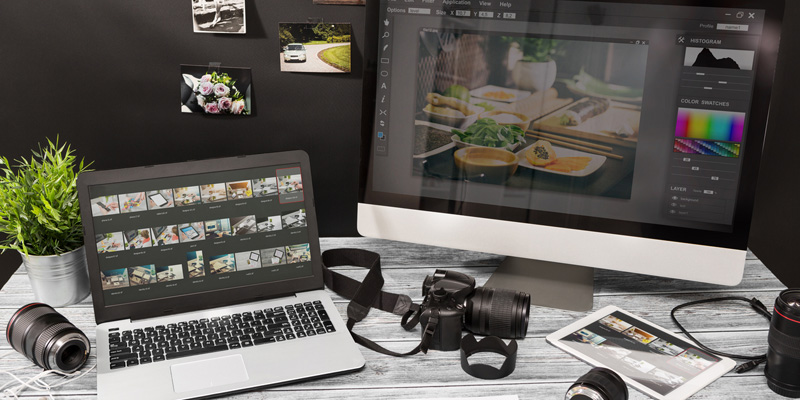
- Getting Started – You don’t need an expensive SLR camera to take high quality photos. A simple point and shoot digital camera, wide angle lens, tripod and work light are all you need. You can find a good digital camera in the market for under $200, and the work light in your local hardware store.
- Plan Your Shoot – Remember, the photos you are going to take are intended to help sell your home, so you’ll want to capture the best features in every shot. Plan your shot list by listing down the best areas of the house. Make sure all your bases are covered - living room, bedroom, bathroom, kitchen, home office, garage, front yard, backyard, etc.
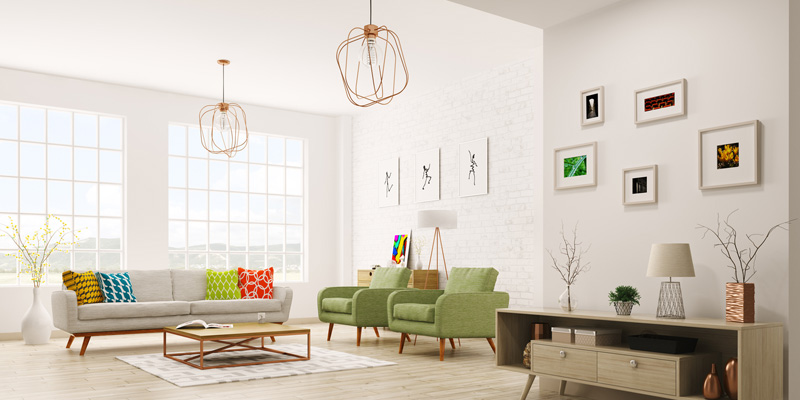
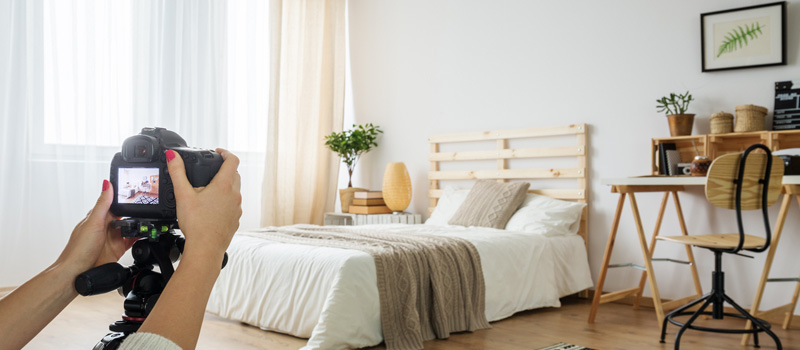
- Make it Look Like a Home – Before you start shooting, adding décor always helps. You want your buyer to feel like they are at an open house and that the home is ready to be lived in. Let as much natural light in by opening all blinds and avoid using the camera’s flash to avoid washed out shots. Always clean up and de-clutter the scene.
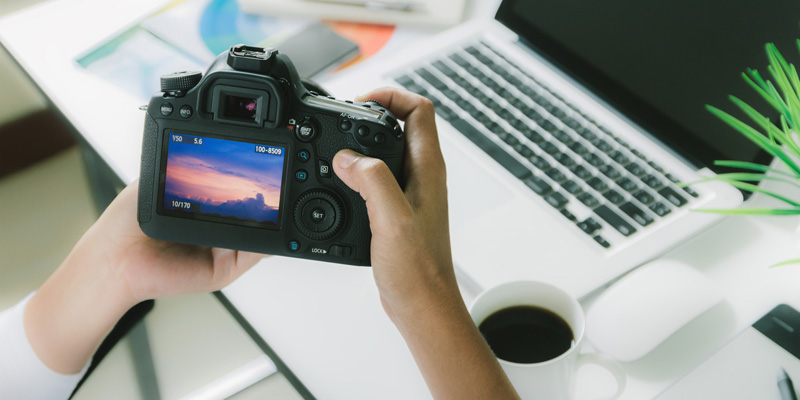
- Lights, Camera, Action! – Start your shoot by choosing creative vantage points rather than typical ones. You might consider getting low in one corner of the room so you can capture most of it in your shot. This is where your wide angle lens comes in. Experiment with a variety of shots and angles and see which one works best. Take close up shots for detail if it’s worth showing off. And don’t shoot in the middle of the day because bright overhead light washes out color. Once you’re done with the house, you might want to include neighborhood shots that would add some wow factor to your home. Include parks, sports facilities, libraries and other points of interest that would entice your customer to want to see more.
- Save and Upload – Once you hook up your camera to your computer and save your photos, make sure each one is no larger than 1MB. The ideal size would be 6 by 4 inches at 72 pixels per inch. Save your photos with proper description names to help keep things organized, and try to stick to using jpeg format. Finally, upload your photos to your website’s back-end and you’re all set!
It also helps to update your photos every season to keep your listing fresh. Pick the one best selling point of the home and use that as the main photo on your listing. Good photos are sure to attract more buyers online.